

🇺🇸🇬🇧 If you don't speak French, please find the step-by-step in English below
Tutorial
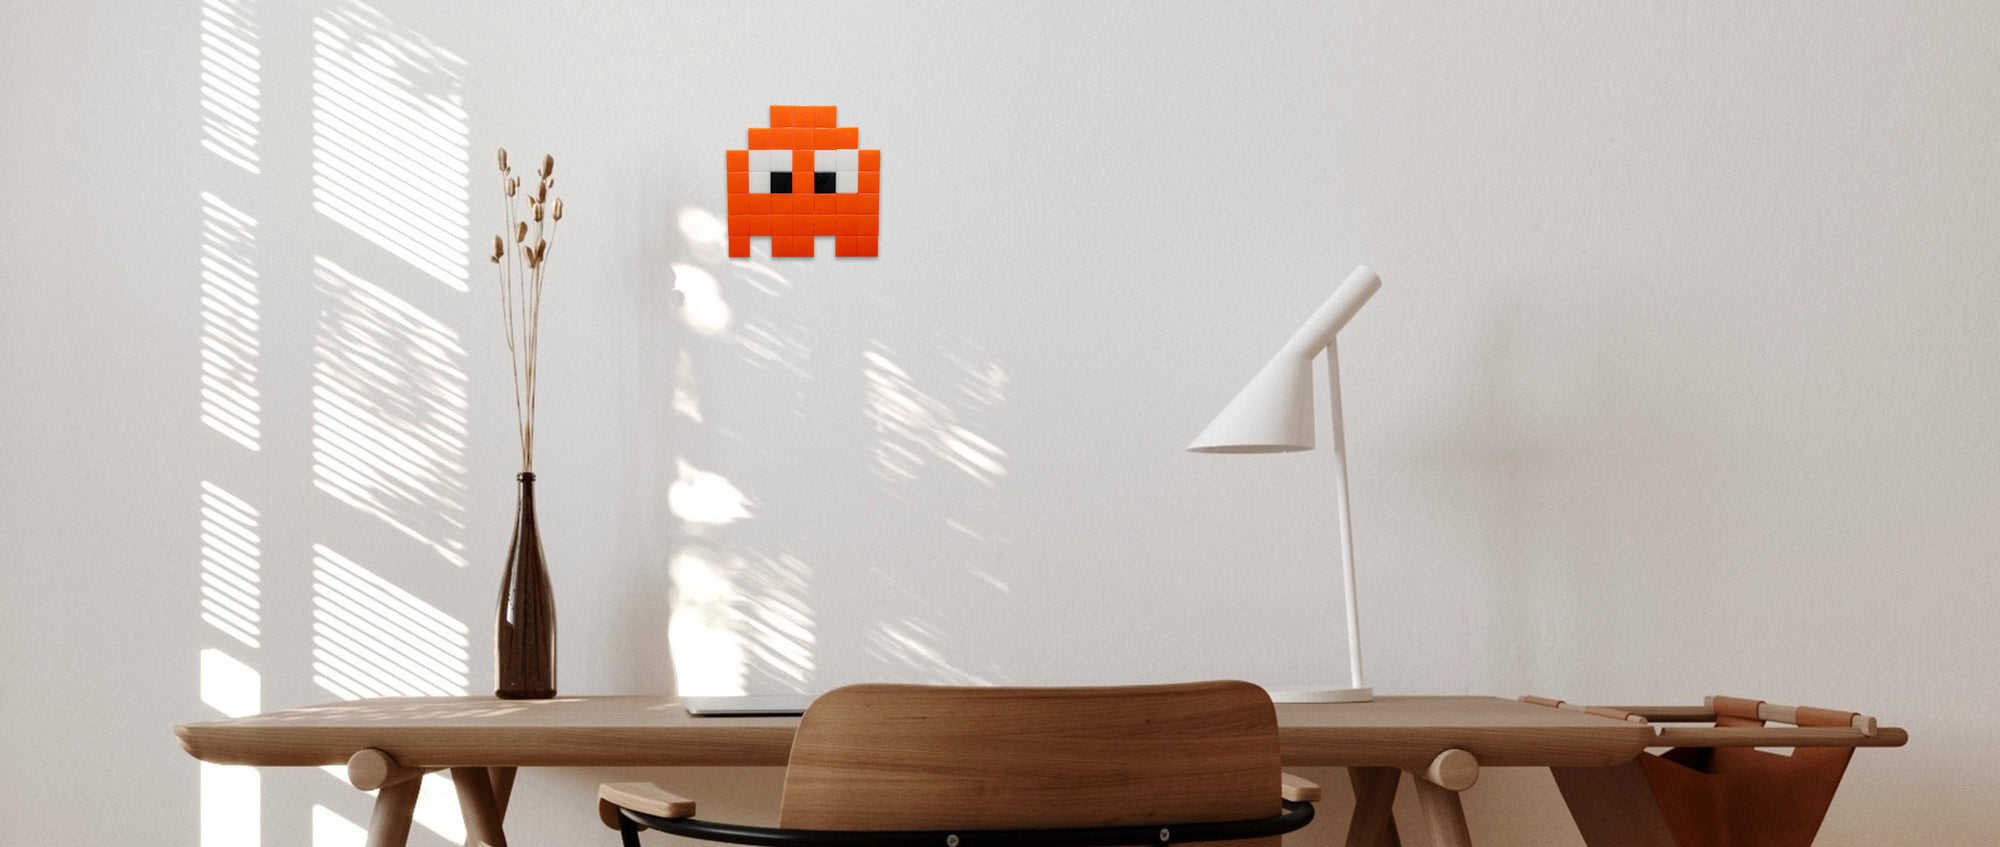
Mosaic installation kits contain all the materials needed to create a unique mosaic and do not require any special DIY or art skills .
Mosaics can be attached to a variety of flat surfaces (indoors or outdoors) or placed on furniture .
Mosaics can be attached to a variety of flat surfaces (indoors or outdoors) or placed on furniture .

Video tutorial
Discover how to assemble your pixel art mosaic step by step.
Step 1
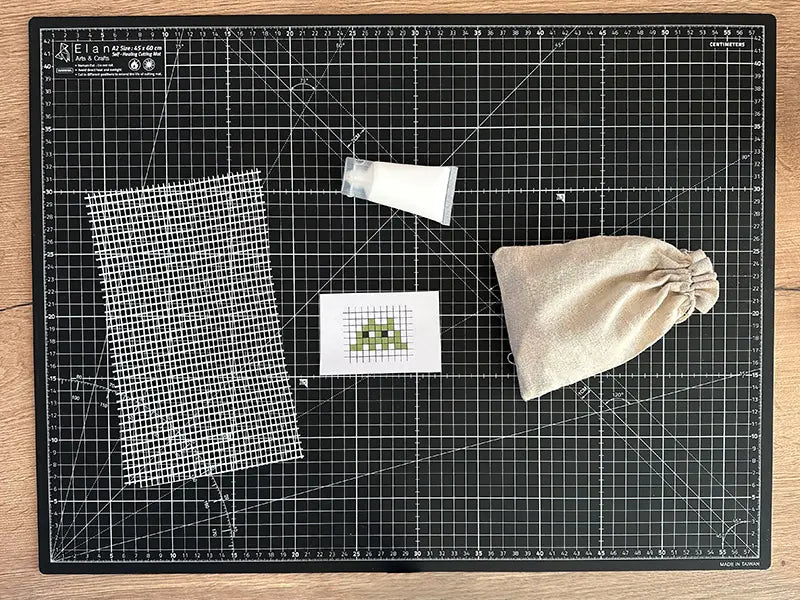
Unpack your kit
There you will find a bag containing the mosaic tiles, a tube of glue, a fiberglass net and the template to follow.
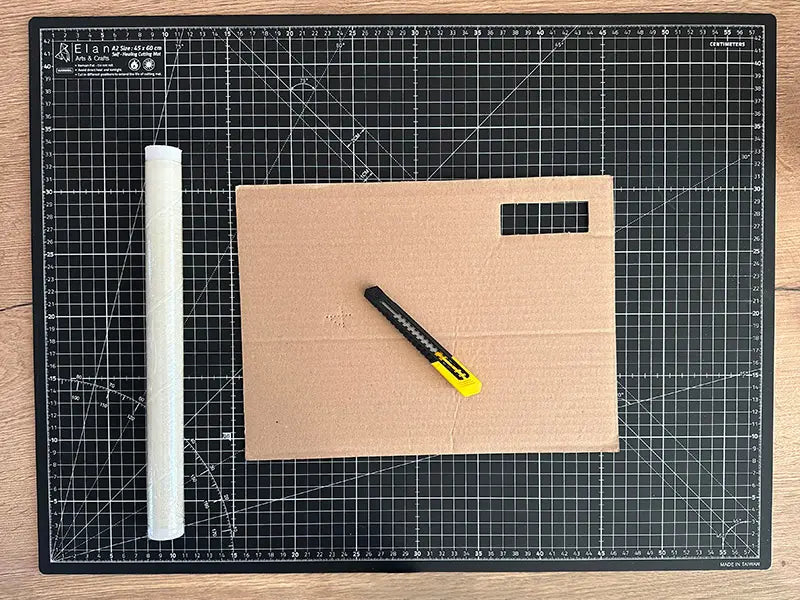
2nd step
Equip yourself with the necessary equipment
Take a cutter (or a pair of scissors), cellophane paper and a flat support such as a wooden board or cardboard, which you can easily turn over.
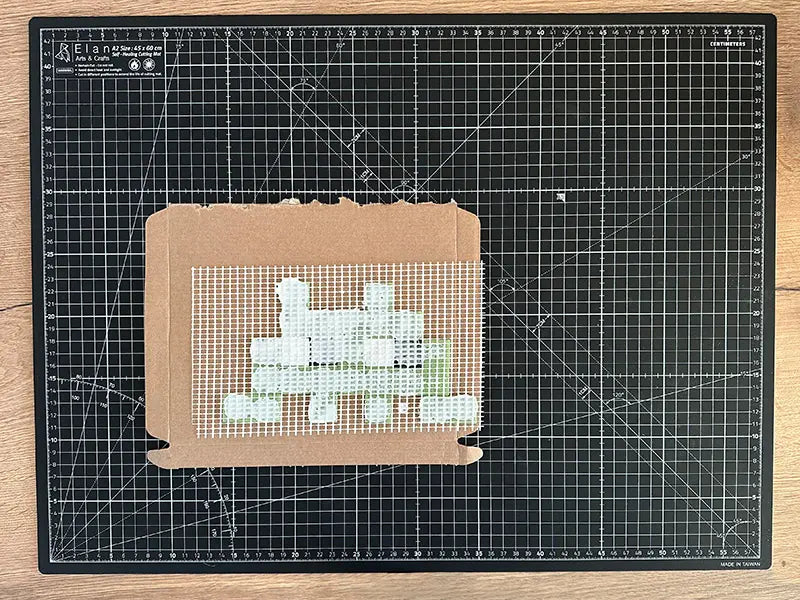
Place cellophane on the support, then add the grid on top.
Step 3
Fix the tiles one by one
To start, apply glue to the back of the first mosaic tile (the rough side) and stick it to the grid.
It is recommended to start with a full line, preferably starting from the bottom left or right corner. Follow the template provided in the kit and progress line by line, from bottom to top.
Step 4
Refine the mosaic before it dries
Align your tiles using a ruler if necessary.
Immediately wipe off small excess glue with a damp cloth. If you have significant excess glue, wait for it to dry completely before removing it more easily.
Leave to air dry for 8 hours.
Step 5
Add more glue behind the net
Place a piece of cardboard or a book on top of your mosaic and carefully turn it over.
Carefully remove the plastic wrap and add glue to the back of the mosaic to strengthen it.
Allow to air dry for an additional 8 hours.
Step 6
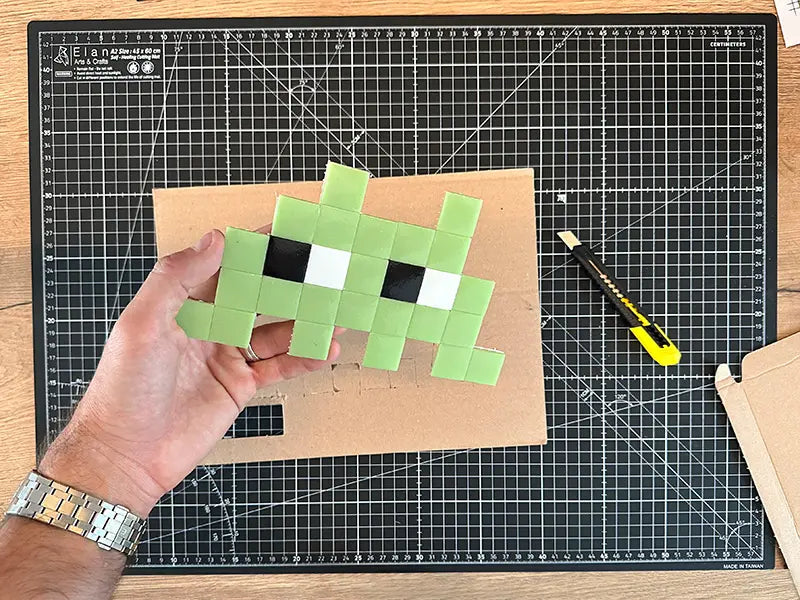
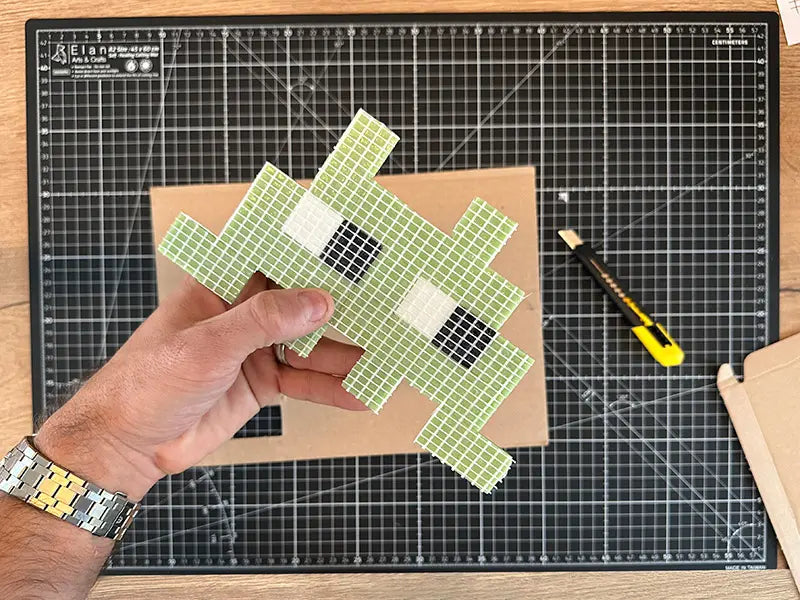
Trim the excess from the grid
Once the mosaic is completely dry, turn it over and use the craft knife or scissors to cut off any excess grid that sticks out.
Step 7
🥳 Ta-da! Your mosaic is ready to be installed!
We invite you to read our practical guides:
- Choosing the location of your mosaic
- How to fix your mosaic


Are you experiencing a difficulty? Do you need help?
Don't panic! You'll surely find the answer to your question in the FAQ or in our practical guides .
Please note that we are also available via chat ↘️ to help you!